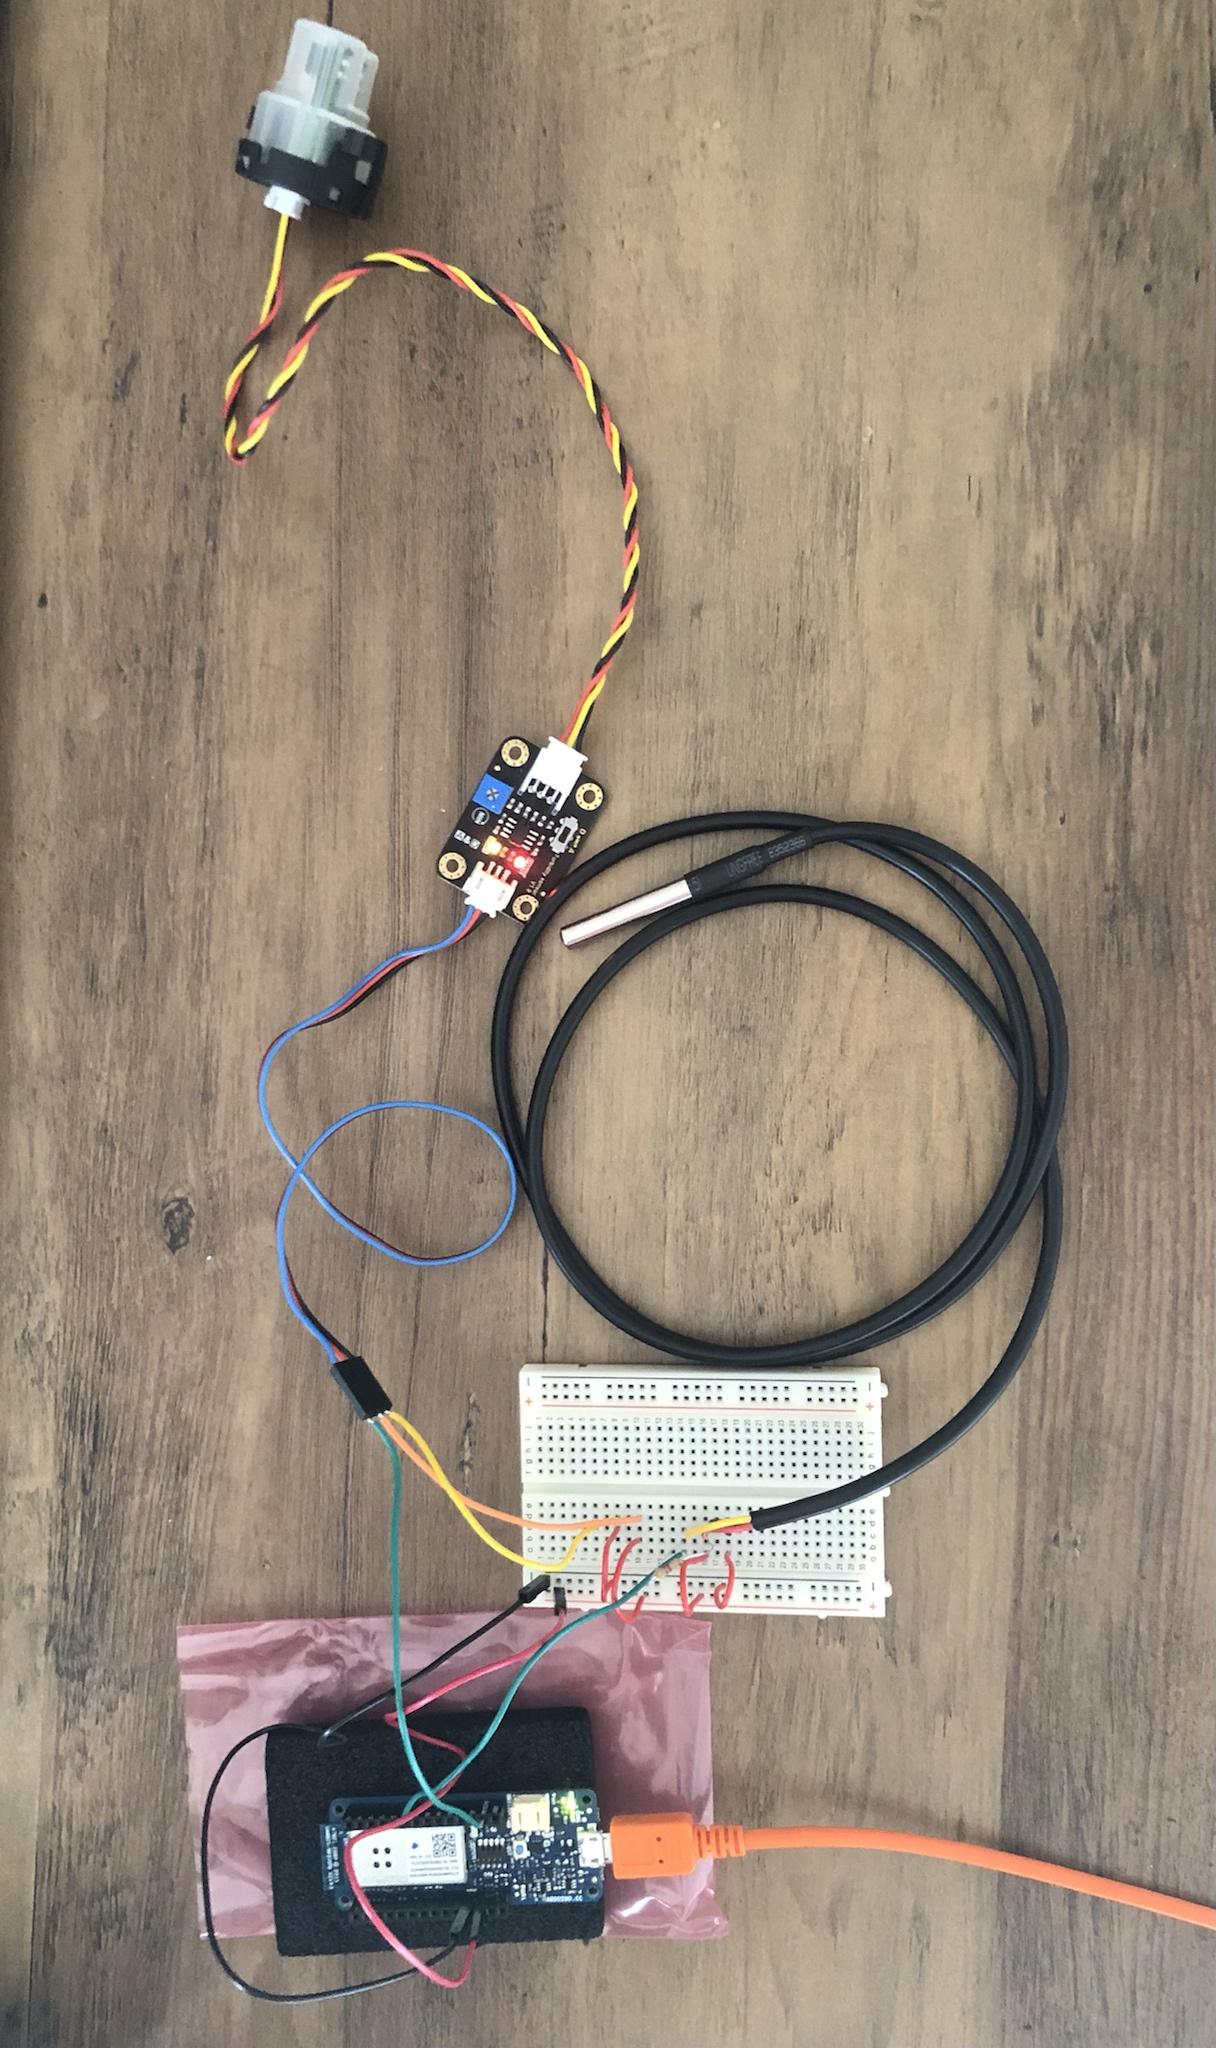
Today I tested the temperature and turbidity sensors simultaneously, here is how I set them up:
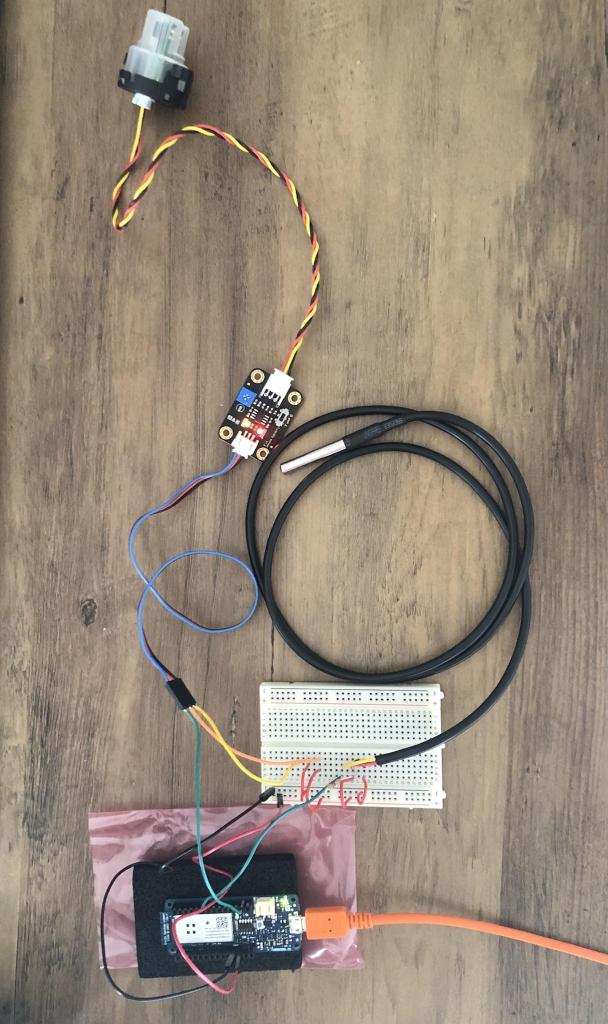
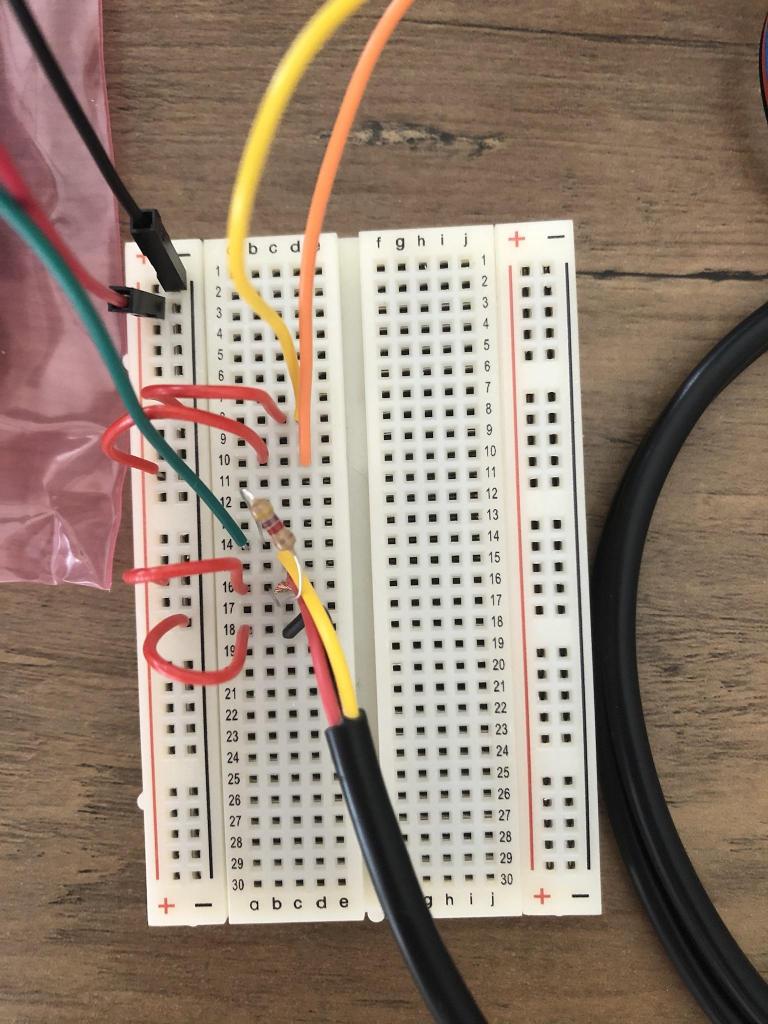
On the MKR1000, black and red wires are connected to GND and VCC (3.3V output) respectively. Each sensor has three wires, two for the current (+ and -) and one for sending data, which is expressed in voltage. The green wires connect the data wires of the sensors to the Arduino.
Since the MKR1000 has certain pins designed for digital inputs (0, 1, 2, 3, …) and others for analog inputs (A0, A1, A2, …), we have to consider the type of sensor which is being used. The turbidity sensor has both modes, analog and digital, I’m using the analog mode currently, so I plugged the green wire in the first analog pin A0 (analog being designated by the letter A). On the other hand, the temperature sensor has only one mode which is digital, so we cannot use the analog pins, we have to use the digital pins. It is currently connected to pin 0 on the Arduino.
Here is the code I used for this short experiment. The DS18B20 temperature sensor can be used with two libraries, OneWire and DallasTemperature, both available in the Arduino IDE Library Manager.
#include <OneWire.h>
#include <DallasTemperature.h>
#define ONE_WIRE_PIN 0

OneWire oneWire(ONE_WIRE_PIN);
DallasTemperature tempSensor(&oneWire);

int turbSensorValue;
float turbVoltage;
float Celcius = 0;
float Fahrenheit = 0;

void setup() {
  Serial.begin(9600);
  tempSensor.begin();
}

void loop() {
  turbSensorValue = analogRead(A0);
  turbVoltage = turbSensorValue * (5.0 / 1024.0);
  Serial.print("Turbidity ");
  Serial.println(turbVoltage);

  tempSensor.requestTemperatures();
  Celcius = tempSensor.getTempCByIndex(0);
  Fahrenheit = tempSensor.toFahrenheit(Celcius);
  Serial.print("C: ");
  Serial.print(Celcius);
  Serial.print(", F: ");
  Serial.println(Fahrenheit);

  delay(2000);
}
This code returns a turbidity voltage in range of 0.0V to 5.0V and a temperature value in range of -55.0°C to 125.0°C (-67.0°F to 257.0°F).
With this code running on a loop, I thought it would be practical to test how long each sensor needs to stabilize its readings. For the turbidity sensor, I just used a cup of room temperature tap water, dipped it in and waited to see how long it would take to stabilize. As we can observe below, the average is 2.38s, pretty fast! This makes sense because the turbidity sensor emits a beam of light, which travels extremely quickly, and looks for its reflection off of the surface between the two prongs. For the temperature sensor, it was a different story. The sensor started from being at room temperature (~80.0°F), to a glass of midly cold tap water (~58.0°F). This drop of ~22.0 degrees took on average about a whole minute to stabilize. However, we have to remember that the stabilization time is a curve. Near the 40 second mark, the temperature was already at ~60.0°F, which is pretty close to 58.0°F. We can therefore probably afford to shave off 20 seconds of the final time. All this means that H2OSupport will have to be dipped in a body of water for atleast ~42.38 seconds, to give all the different sensors some time to stabilize their readings.
| Turbidity Time to Stabilize (s) | Temperature Time to Stabilize (s) |
| 2.4 | 64.7 |
| 2.1 | 68.2 |
| 1.7 | 61.2 |
| 3.2 | 53.7 |
| 2.5 | 74.9 |
| Average: 2.38 | Average: 64.54 |
I still have to test the turbidity sensor to see how accurate it is, to see if it needs a certain calibration, but that shouldn’t have impacted the stabilization times.
